Free Christmas Felt Penguin Patterns + Easy Tutorial
Find Christmas felt penguin patterns, printable templates, materials and an easy step-by-step tutorial for handmade ornaments, gifts and holiday decor.
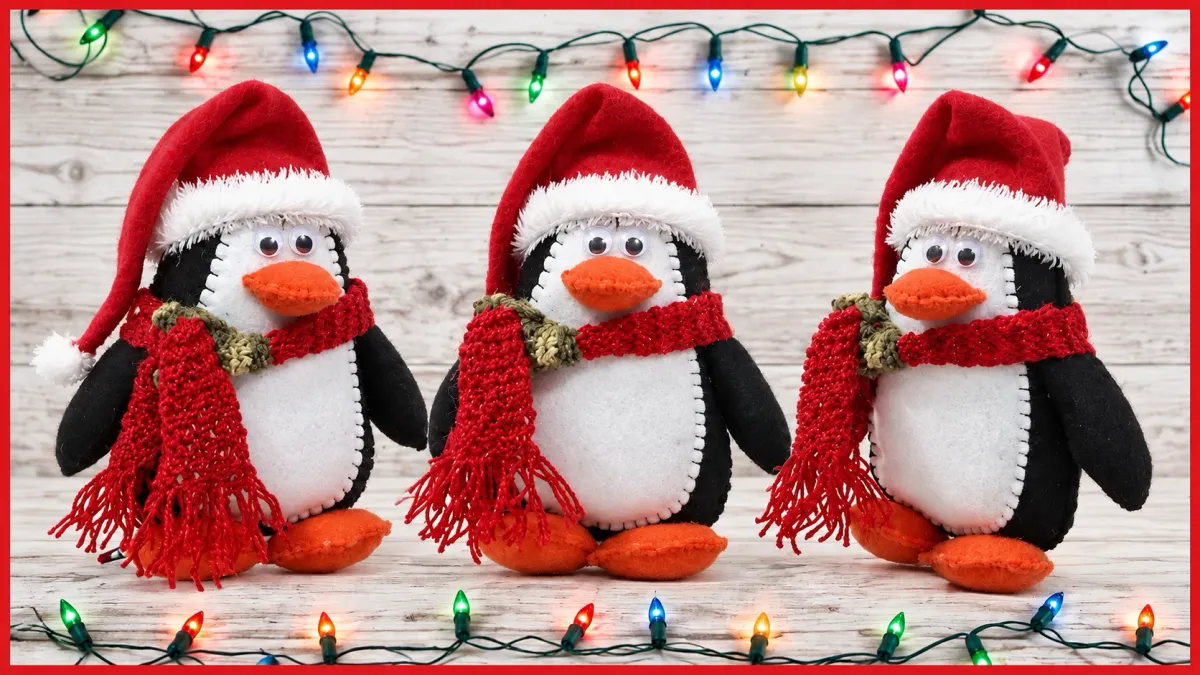
Want to make a little felt penguin for Christmas? Start with the printable pattern sheets if you’re ready to cut and sew, or browse the finished penguins for ideas on hats, scarves and cheerful little faces. There are tips here for turning your favorite design into a tree ornament, gift topper or soft holiday decoration.
One thing to know before you begin: this is a gallery from several craft creators, not a single PDF pattern pack. Some pictures show finished projects rather than pieces you can cut out. When you find a template you like, open it full size and check the measurements with a paper test before reaching for your felt.
Choose the penguin style before you cut anything
A plump penguin makes a lovely shelf decoration, but a flatter design is often a better choice for a Christmas tree. If this is your first felt project, pick one with just a few pieces. It will be easier to cut, pin and stitch by hand.
If there are no measurements on the template, decide on the finished size first. You can resize the printout, but remember to change every piece by the same percentage so the wings, belly and hat still fit.
A Christmas felt penguin you can use as a reference
Not sure how the pieces should look when sewn together? These finished penguins from Arte en Tus Manos offer a helpful reference. The two matching sheets include measurements for the body, belly, wings, feet, beak and hat.

Take a look at both sheets before you cut anything. The first shows a body measurement of about 17.6 cm; the second has the hat measurements. Check those numbers against your paper printout with a ruler, rather than assuming your printer has kept the original size.

Open full size

Open full size
25 Christmas felt penguin pattern sheets and craft ideas
Some pictures below are ready-to-trace templates; others are finished penguins that can help you choose a shape, face or scarf. Use the creator filters to narrow things down, and click an image to open the larger file. If you plan to print it, try it on paper first and check any marked measurements.


Materials for Christmas felt penguins
You don’t need a big craft stash to get started. Most of these designs use the same basic supplies; choose your penguin first, then pick out the extras for its hat or scarf.
How to use any of these felt penguin patterns
Each penguin is a little different, but the order of work is much the same. It’s easiest to add the small face and belly details before joining the front and back.
Choose your pattern
Compare the number of pieces, finished shape and accessory details before printing.
Print a paper test
Use inexpensive paper first. Check the measurements and place the cut paper pieces together to confirm the scale.
Separate pieces by color
Most penguins use black for the body, white for the face or belly, orange for the beak and feet, and brighter colors for Christmas accessories.
Trace on the back of the felt
This keeps visible marker lines away from the finished front surface.
Build the face before sewing
Place the eyes, beak, cheeks and white face or belly section without attaching them. Small changes in eye placement can completely change the expression.
Attach the small details
Sew or glue the inner pieces first, then add wings, feet and accessories.
Join the front and back
Leave a small opening along one side if the design will be stuffed.
Add stuffing gradually
Use small amounts at a time so the body stays smooth and the seams are not stretched.
Finish the Christmas details
Add the hat, scarf, pom-pom, bell or hanging ribbon only after the main body is stable.
Ways to use the finished penguins
Prefer a project with a ready-to-print file and a scale guide? Take a look at our Christmas felt lantern pattern with a free A4 PDF. The design brings a penguin, snowman and reindeer together in one decoration.
Small details that improve the finished result
- Use small sharp scissors around tight curves.
- Cut paper templates cleanly before tracing them onto felt.
- Test the face before sewing the eyes and beak permanently.
- Use only a little stuffing in wings, feet and other narrow pieces.
- Keep blanket stitches evenly spaced if they will remain visible.
- When enlarging a design, resize every piece by the same percentage.
Pattern credits
The images above are loaded from external domains and credited when a creator can be identified. Credits do not grant permission to reproduce or redistribute a pattern. Check the original creator's terms before saving, sharing, selling or republishing their work. Some sources have not yet been identified.
Frequently asked questions
Can I download all these felt penguin patterns in one PDF?
Not as one file. The images come from different makers, so you can open the pattern sheets individually. The two measured tutorial sheets are linked above, but there isn’t an all-in-one PDF for this gallery.
Are all of these felt penguin patterns the same size?
No. They come from different creators and were originally prepared at different scales. Print a paper test first and adjust the percentage before cutting felt.
Can I make a felt penguin without a sewing machine?
Absolutely. A simple blanket stitch or whip stitch is enough for many small penguins. For a decoration that won’t be handled much, fabric glue can work for some of the flat details too.
How can I make a penguin pattern larger?
Try printing at 125% or 150%, making sure every part of that penguin is enlarged by the same amount. Cut out the paper pieces and check how they fit before using your felt.
Images in this collection are embedded from external sources, so availability can change and some original creators remain unidentified. Where permission allows, hosting an authorized, optimized copy in Ghost can improve reliability. Always confirm the rights before copying or redistributing someone else's pattern.
